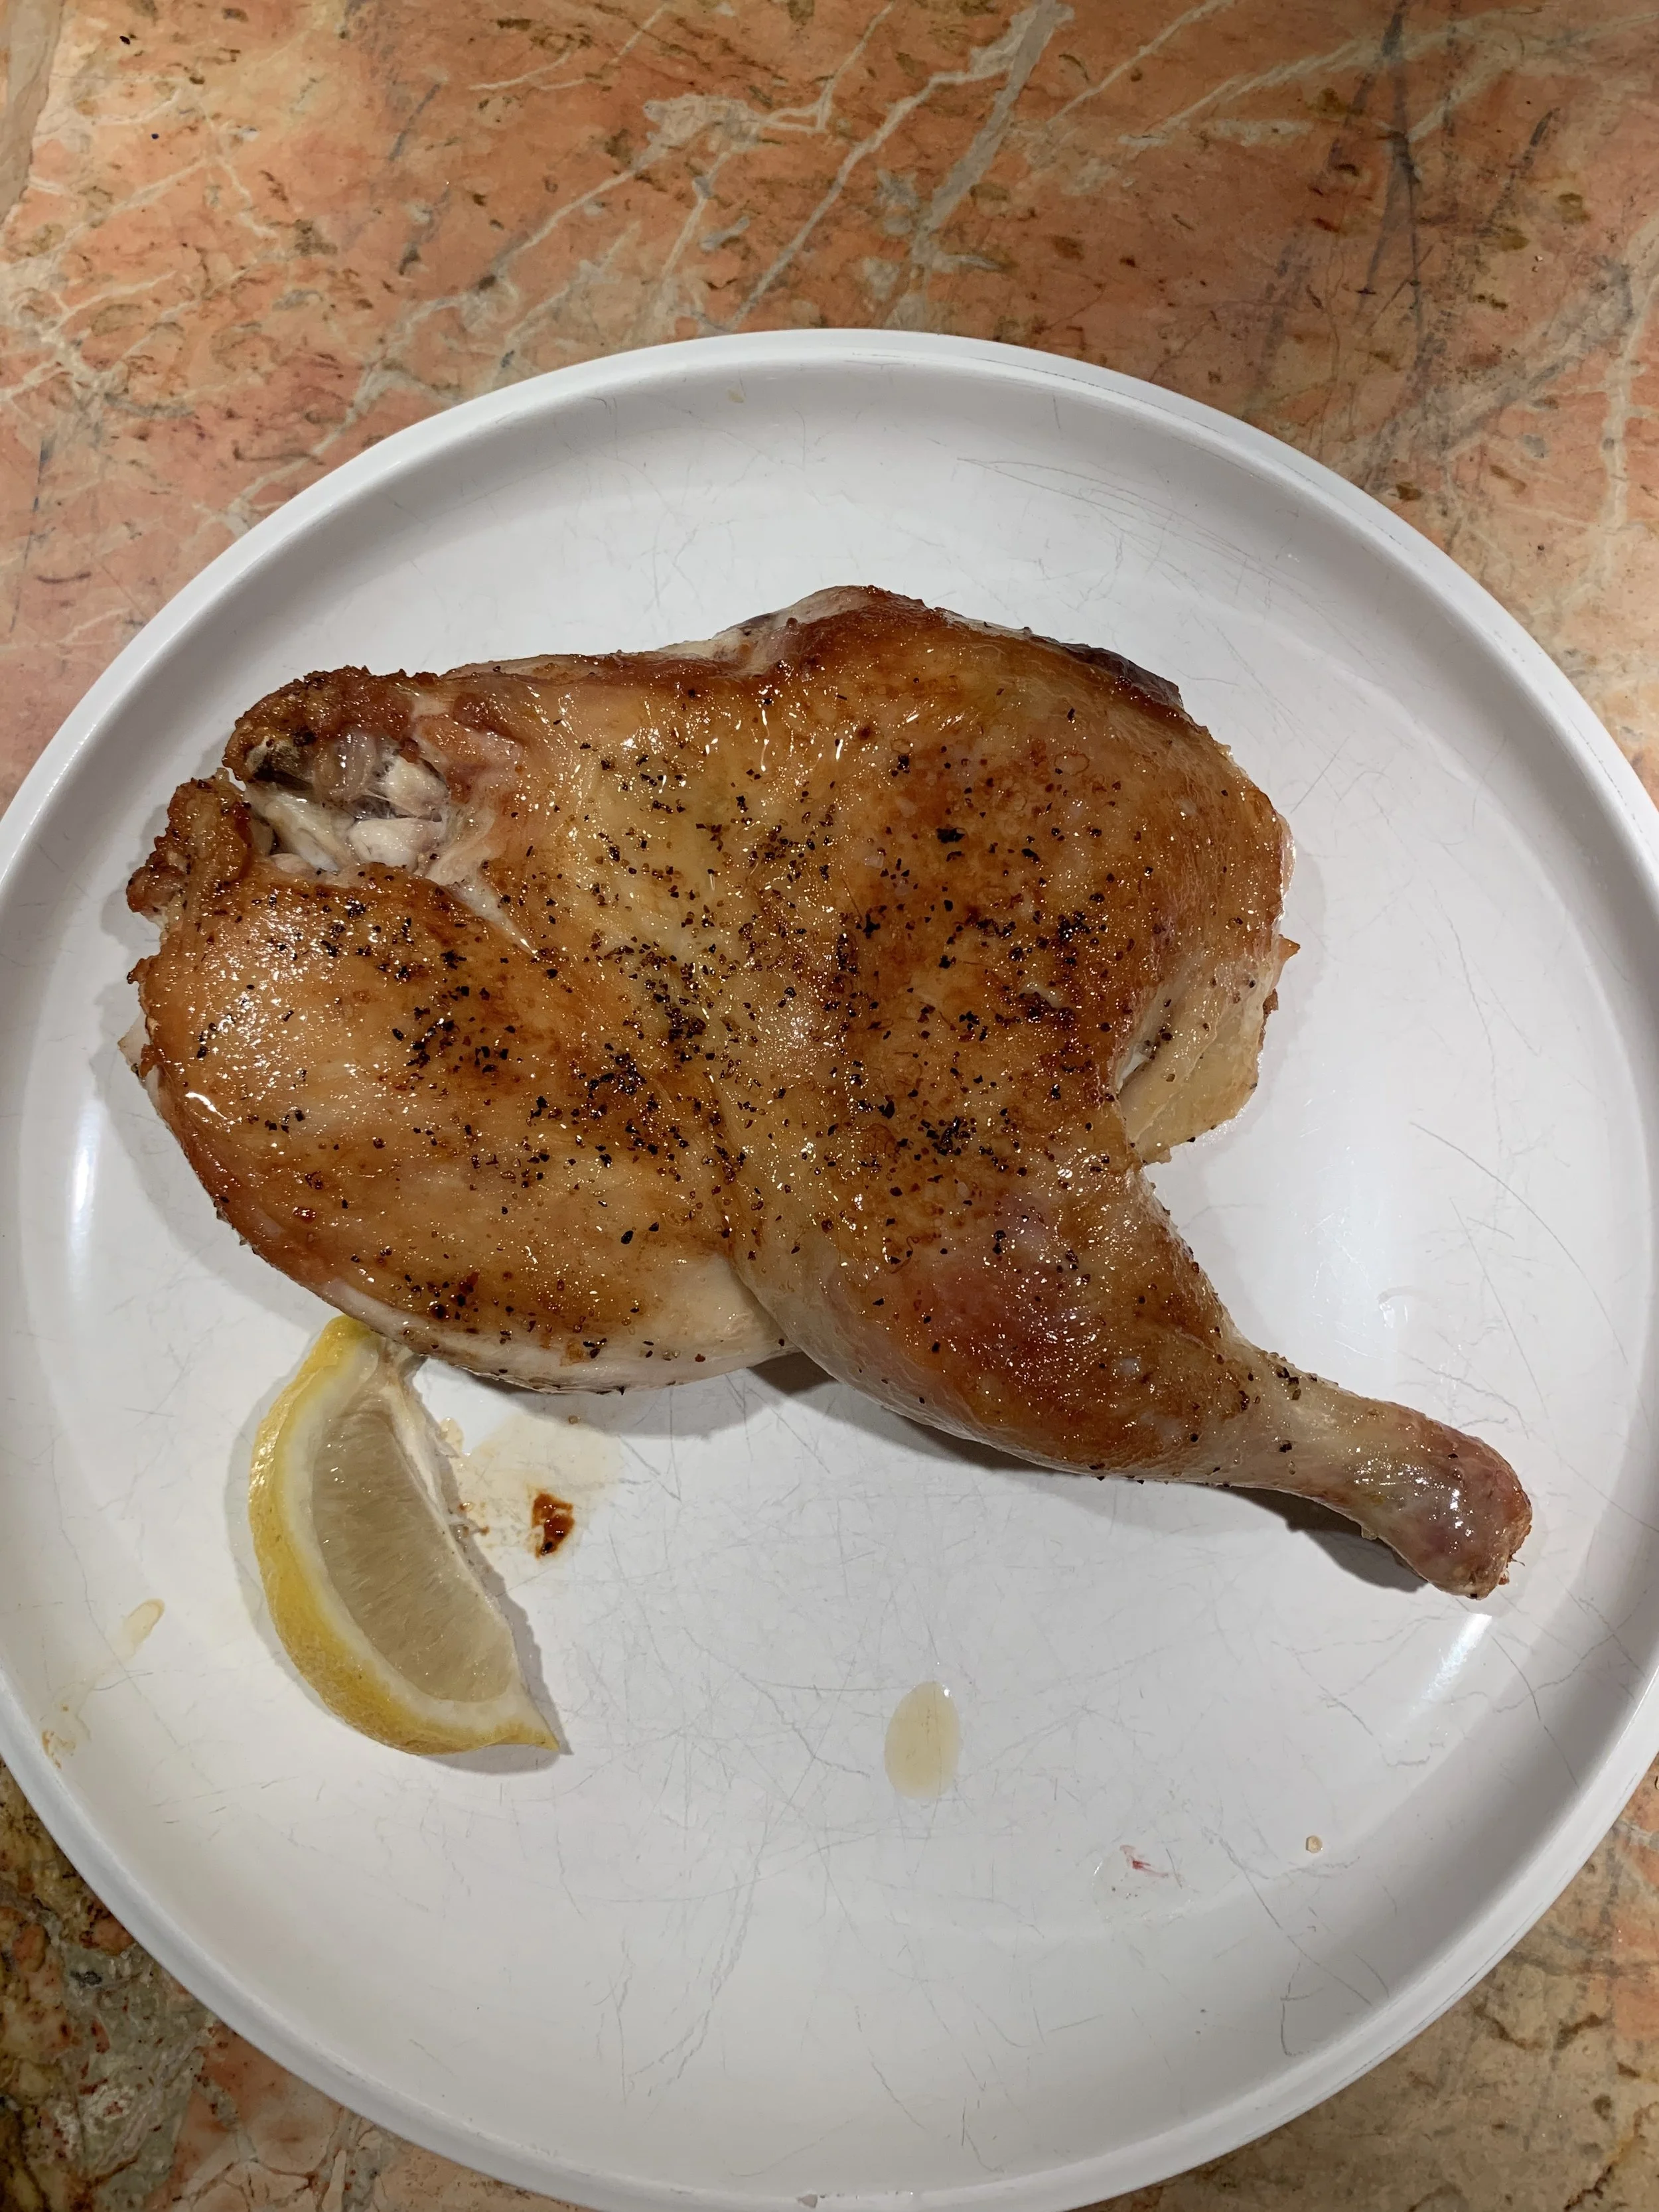
Bricked Chicken
I’m taking a page out of Chef Marc Forgione’s cookbook. He is famous for this dish, and all inspiration/credit goes to him.
Brick Chicken is one of the true, unabashed pleasures of the food world. It is elegant, beautiful, delicate, rich, crispy, juicy, and most of all, simple. It requires five ingredients, one pan, a stove top and an oven. This is the kind of meal that I could eat every single day for the rest of my life. It has a myriad of different textures, flavor profiles, and if you wanted to jazz it up and add your own personal flair to it, you absolutely could.
This dish starts a few hours before you plan on cooking it, and can even start the day before. What you’ll need is a half chicken. You can ask your butcher to do this for you, but if you don’t have a butcher, it’s not a big deal. Firstly, you’re going to want to take your chicken breast side up. Take your sharpest knife, and follow the breast plate down. Essentially, you are removing as much meat as possible from the breast plate, keeping your knife as close to that bone as possible. Obviously we want as much meat off the bone as possible so that nothing goes to waste, and you aren’t losing money. If you’re committed, you can make stock from the carcass as well, but that can be a bit of a whole thing, so if you’re intimidated don’t worry about it. Let the bone guide you, and let your knife do the work. Once you come far enough down on the bird, you’ll hit the hip joint. What you’ll do from there is pop that joint out, run your knife through it, and be able to separate the entire half chicken from the carcass. Chef Forgione suggests taking the legs off, but I have found that while this might make sense in a fine dining application, for the standard home cook, this is not a necessary step,and leaves you with more dark meat on the cut (which is fatty and delicious). Once you have your half chickens butchered out, you can begin to season liberally with salt and pepper on the skin side, and salt, pepper, and lemon zest on the flesh side. Additionally, you could add onion powder to the flesh, but I think that’s unnecessary, and actually can take away from the delicious purity of this dish. After you’ve seasoned your bird, leave it in the fridge uncovered, skin side up for at least two hours and up to overnight. This process will dessicate, or dry out the skin, in order for it to become more crispy later on.
Once you’re about 45 minutes out from dinner, you can start to cook. Preheat your oven to 450, and get an oven safe, preferably stainless steel or cast iron pan ripping hot with enough oil so that it’s just barely more than covering the bottom of the pan. You’re going to want to use a neutral oil here- anything that’s flavored, like olive oil, will burn faster than a witch in Salem. You’re gonna want to get that oil smoking hot, like melt your face off hot. Before you put the chicken in the pan, you’re going to want to find something heavy, and flat. Obviously a brick is the classic move, but any weight will do, as long as it’s oven-safe. Wrap that thing up tight in foil, and get ready to cook. Place the chicken skin side down, right into that oil. Once the bird is in there, put that weight on top, and let it sear for about 3-5 minutes. At this point, you can put that guy in the oven and walk away. Depending on your oven, it should cook in 20-25 minutes. Don’t let it burn, and definitely don’t let it overcook. For salmonella purposes, you’re looking for 165 Fahrenheit in the thighs, and 150-155 in the breasts. However, when you let any piece of meat rest, it will creep up about 5 degrees in the process. Once you take it out of the oven, feel free to use the deliciousness in the pan to whip up a little sauce, although this chicken will come out so flavorful and juicy that honestly I don’t really think it needs it. Plus, any sauce will tend to sog-out the glass-like skin that this preparation gives. Serve with a lemon wedge and whatever veggies you want. Bonus points if you cook those veggies in the same pan that you cooked the chicken in. Pro tip- and this will be a theme throughout this blog- DO NOT WASTE FLAVOR. As devastating as it is to accidentally throw out a good piece of food, it is equally shitty and shameful to throw away flavor. The liquid/fat in the bottom of that pan is so chock full of flavors, and can be used for so many different applications, whether it be frying potatoes, making a pan sauce, and the list goes on. This is the difference between cooking to make yourself something to eat, and cooking to make something that you want to eat, that you want to make for someone else. It’s a depth of flavor thing, something that cannot be achieved without learning to utilize every single thing that goes into a dish - even stuff you would traditionally discard. Everything has a purpose, and everything can be used to make things more enjoyable.

